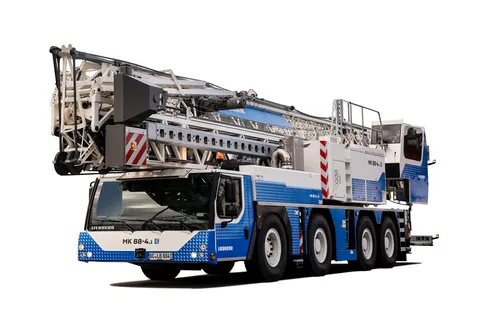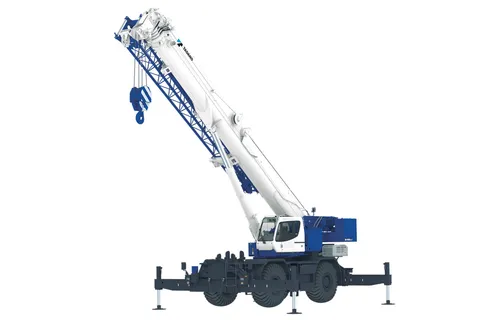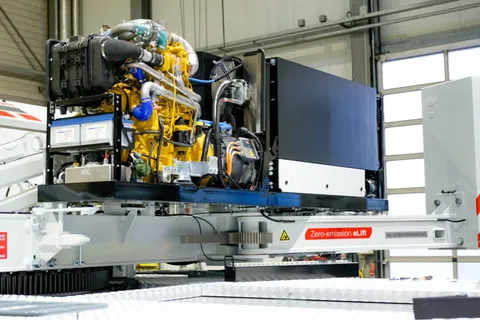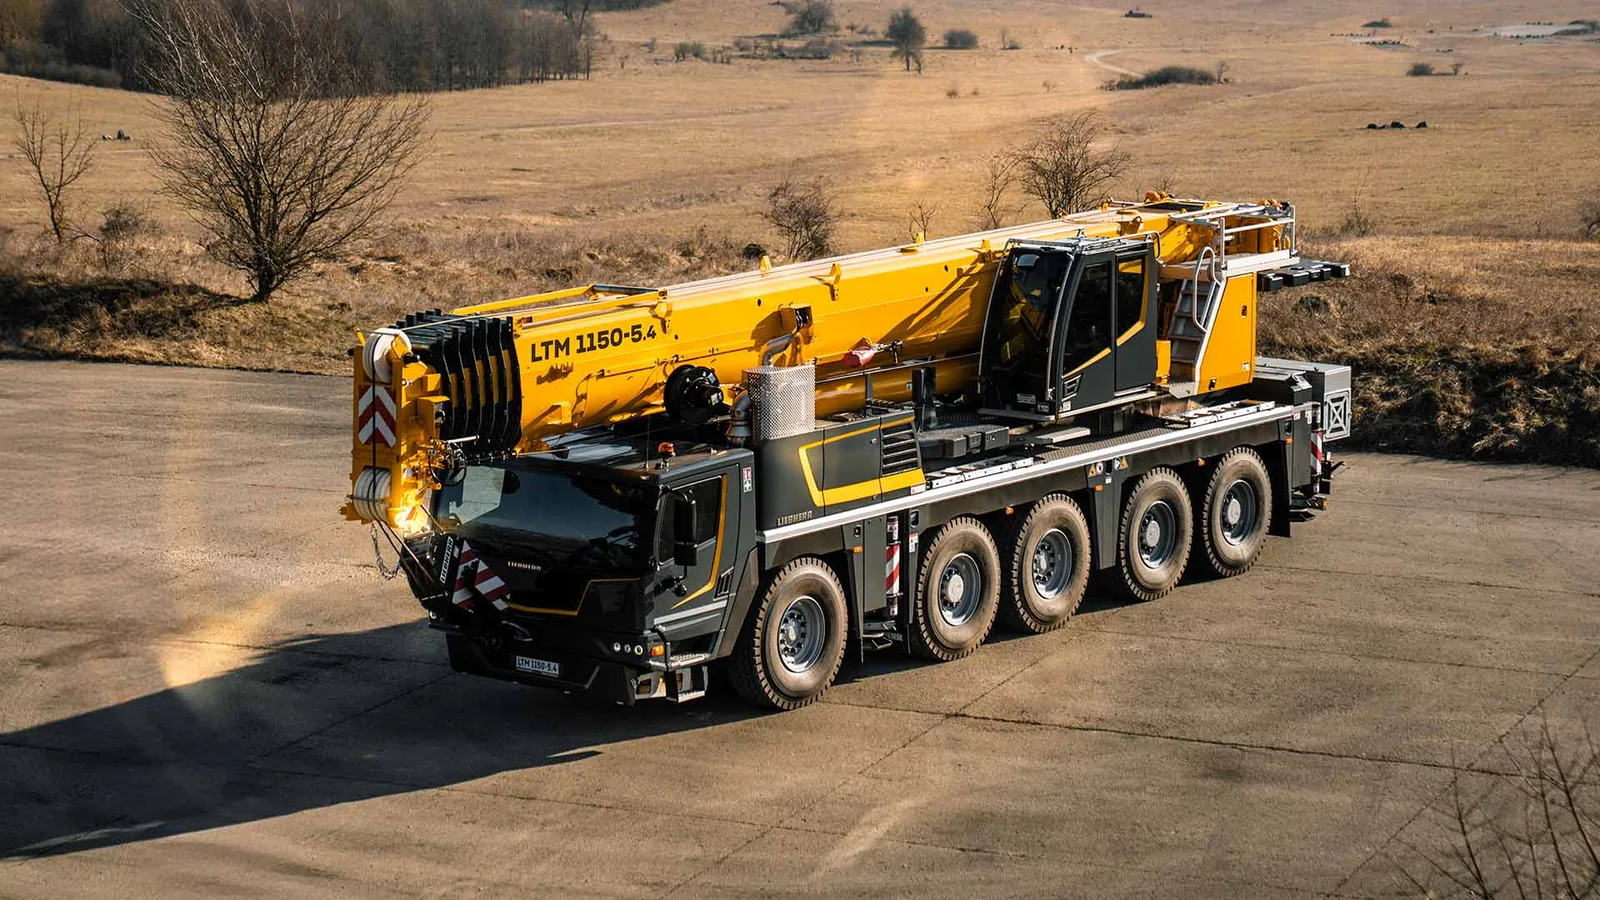
The Liebherr LTM 1150-5.4E is a 150 tonne crane. It lifts those 150 tonnes at a radius of 3 metres, almost against the slew ring. With its 66 metre boom fully extended, the manufacturer quotes 9.1 tonnes. Everything worth knowing about rated capacity lies between those two figures.
What the number means
The tonnage in a model name is maximum capacity: the heaviest load in the most favourable configuration – shortest boom, minimum radius, full counterweight, outriggers fully extended. Real lifts rarely look like that. The figure is best read as a class label. It places a crane among its neighbours but does not say whether it will lift a given load.
Radius does the damage
Radius is the horizontal distance from the centre of rotation to the hook. Capacity falls quickly as it grows. Tower cranes show this most clearly, because makers quote both ends of the chart:
| Crane | Maximum | At jib tip |
|---|---|---|
| Liebherr MK 88-4.2E | 8 t | 2.2 t at 45 m |
| Spierings SK487-AT3 | 7 t to 11.96 m | 1.7 t at 40 m |
| Spierings SK1265-AT5 | 10 t to 13.2 m | 1.7 t at 60 m |
On the SK1265 the tip load is barely a sixth of the maximum, and the full 10 tonnes is available only over the first 13.2 metres.
Load moment
A better measure of a crane's strength is load moment – load multiplied by radius, in tonne-metres. For the SK487-AT3 that is about 84 tonne-metres at 11.96 metres and 68 at the tip. Moment is not constant across the chart, but it varies far less than the load itself, which is why tower cranes are often classed by it. Dividing moment by the radius you need gives a rough first estimate of capacity. Only the chart gives the real value.
Two limits
Capacity is capped for two different reasons. At long radius the limit is stability: the load tries to tip the crane and the counterweight resists. At short radius the limit is structural: boom, ropes, winch or slew ring give out before the crane would tip. One consequence is that extra counterweight helps at long radius and adds almost nothing close in.
What else moves the figure
- Boom length. At the same radius a longer boom lifts less.
- Counterweight. Each ballast package has its own chart; a crane that arrives with part of its ballast is a different crane on paper.
- Outrigger base. Reduced spreads cut capacity. Systems such as Liebherr's VarioBase and Grove's MAXbase calculate it for each outrigger position.
- Jibs and extensions. More height and reach, less load.
- Reeving. On a single line the crane lifts only what the winch can pull.
- Wind. Charts apply up to a stated wind speed, lower for loads with a large sail area.
The hook is part of the load
Rated capacity covers everything suspended below the boom head: hook block, slings, spreader beams, clamps. If the chart allows 9.1 tonnes and block and rigging weigh 0.9 tonnes, 8.2 tonnes is left for the load.
Reading a load chart
- Pick the chart for the actual configuration: counterweight, outrigger base, boom length, jib.
- Find the boom length column and radius row. Use the furthest radius the load will travel through, measured to its centre, not just the pick point.
- Deduct hook block and rigging.
- Check hook height at that boom length and radius.
- A blank cell means the crane does not work there in that configuration.
Comparing cranes
Ask three questions instead of one: what the load weighs with rigging, at what radius it must be placed, and how high. A crane with a smaller number in its name but a longer boom and more counterweight will often do a job its larger-sounding neighbour cannot.
This article is for reference only. It does not replace the manufacturer's documentation or a lift plan; lifts are planned from the charts of the specific machine.